
Went shopping for presents yesterday and is happy with the progress!!! Another round tomorrow!!! Taking time off from tote making!!


 I used the no. 6 bias maker for the stems. As the stems are quite tiny, I prefer to use the double sided tape bias maker. This bias maker is so convenient for small stems like these. Once I ironed on the stems, the next thing to do is to applique the sides. Was thinking of using the sewing machine but decided to do everything by hand! It will take a bit of time but I'm just going to take it easy!!

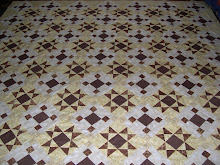
 I started this quilt a couple of years ago and only managed to complete it last night!! It was such a joy to finally sew my label on it!! The quilting was done by a friend (she is a professional quilter.....contact me via email if u need her help) as I wanted this quilt to be extra nice...she puts my quilting to shame! I love piecing quilt tops together but the quilting kind of slow me down quite a bit!! Got lots of quilt tops sitting in the cupboard waiting for their turn! LOL


 I finally completed the center block!! I started this three years ago as a 'while waiting' project. Whenever I have to wait for someone....especially Luke (when he was in and out of the hospital), this really kept me busy. This is time well spent! I have something to show for it! I didn't rush to try and finish it ASAP but just took my own sweet time. Brought it with me when I know I have to wait sometimes 2 to 3 hrs at the doctor's for him. I am contemplating whether to add some butterflies or not......
 I machine appliqued the leaves and resized the blocks. Added plain green fabric for sashings and printed green fabric for the frame. Found some nice yellow print fabric to match the yellow background of the blocks. I didn't know I had that fabric in my stash! Need to use up more of my stash fabric. This is a single size quilt and I hope my aunty likes it! The stems will be quilted directly on the blocks later.
 WOW! Time just flew by since my last post!!! I have been quite busy working on a few projects at the same time!!
 I have added four extra rows on the top and bottom. I think the quilt looked better with the extra rows. The heart shape is more prominant. Lenght wise is also much better. The quilt is not too square. Without the extra rows, the quilt is neither here nor there...too big for a wall hanging and too small for a single! I am considering if I should make it into a queen..add sashing and maybe one or two borders and applique some flowers or something... endless possibilities!!! LOL
 Finished piecing together all the squares. I find that it is a bit too small for a queen! My cousin, Michelle, added two extra rows for the top and bottom of the quilt. But even with the addition, she said it is still short. She ask me to try and add maybe another 4 rows for top and bottom. Hopefully 8 rows may be alright. We still have to add some more sashings and borders to try and make it into a queen size quilt. Got to think of a more interesting border or something!!
 This is the first half of the heart! I hope tomorrow I will be able to put in more time!
 I was back in Miri for a couple of days because Luke wanted to go for a few lessons with the golf pro at Eastwood. The timing was good as I could see to the renovation for my father's house as well. My cousins and two of my aunties are into patchwork so we had a nice time sharing ideas and going to the quilt shop! Aunty Cindy just started doing patchwork so we all thought it is a good idea if she goes and learn some basic patchwork. She chose some blue white fabric (all from my cousin, Michelle's stash!) and a simple pattern for the lesson. We all got carried away and decided that we will use the same pattern but in different colors. All these are fabric are found in my stash!! Cousin Michelle's colors are blue and yellow. Cousin Emma's shades of purple and Aunty Agnes's shades of green. LOL
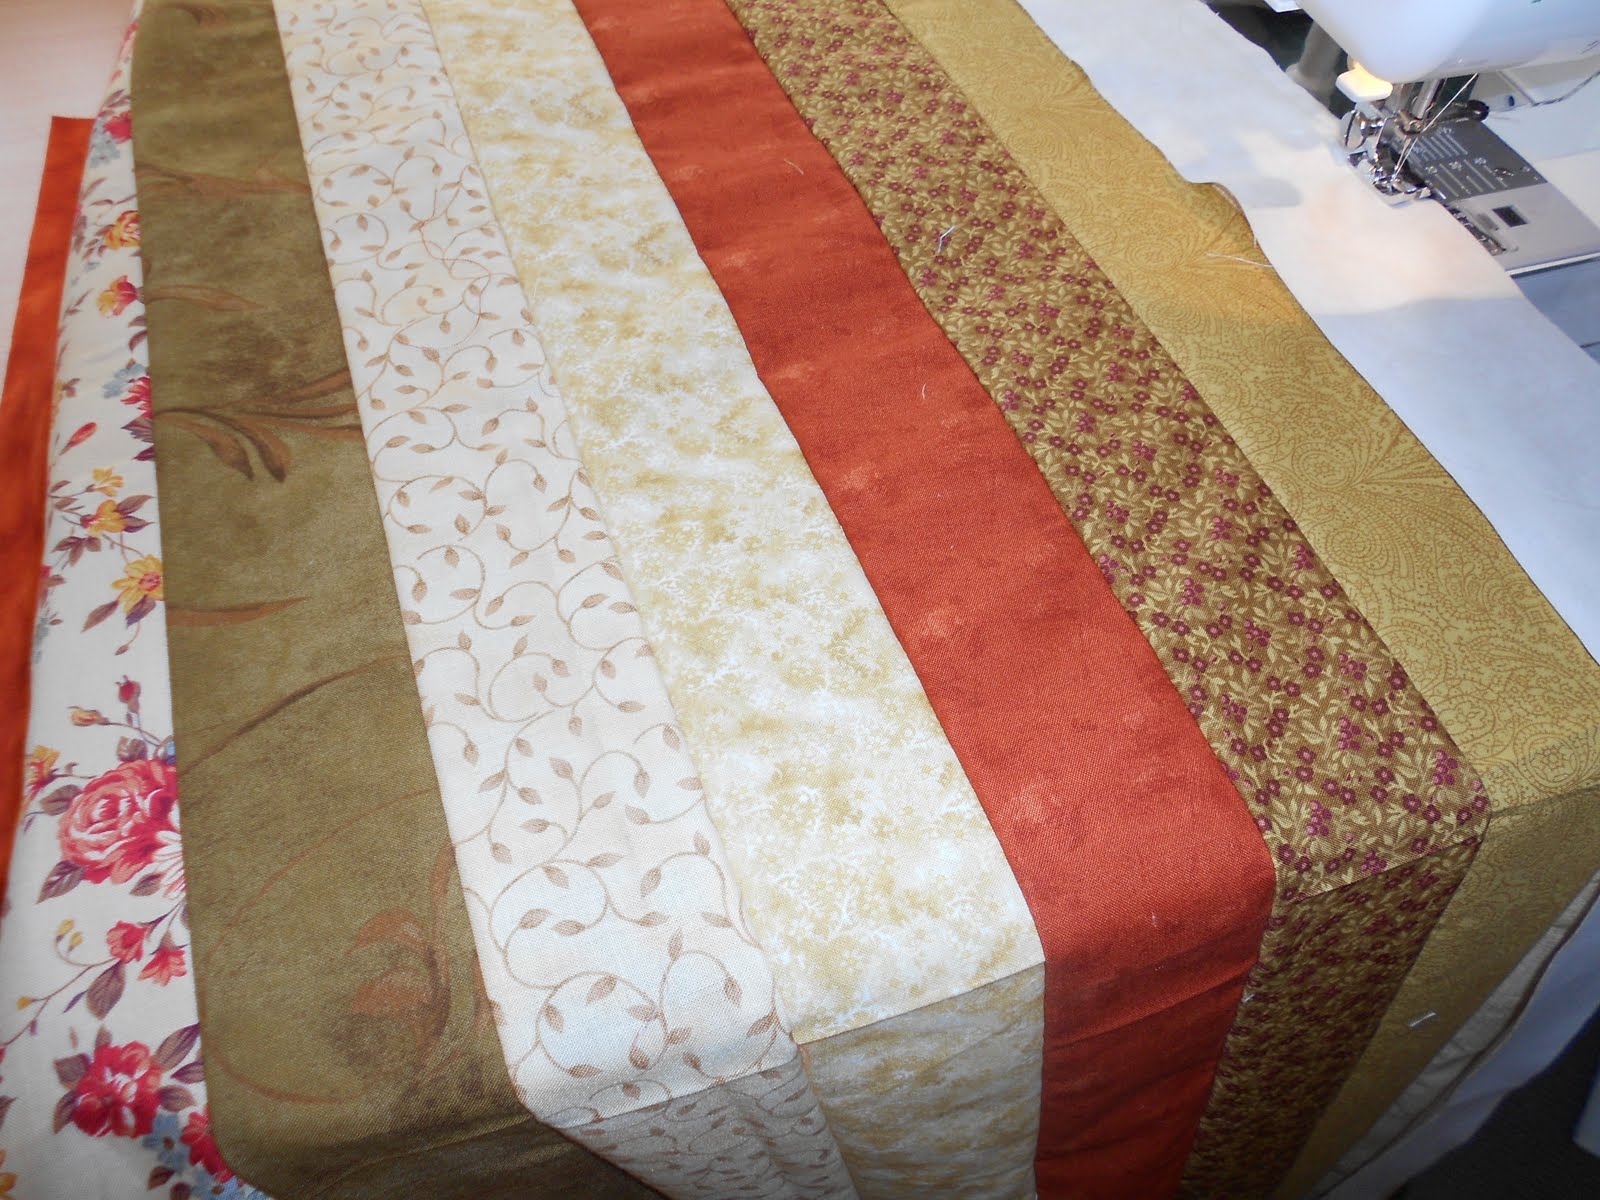
 I have a HUGE laundry basket full of scrap fabric sitting under my sewing table. Each time I look at it, I feel so ashamed!! Those are good fabric in there. So I decided today, I will try and make a quilt or quilts if I can!! So I set about the task and got the help of my friend, Haminah, who was so kind to help me iron out the scraps. I used the scrap master ruler to cut out the triangles. This is the first time I am using this ruler.. bought it some time back and I think I have made a very good investment!! It is so convenient especially when the fabric is an odd shaped scrap!! I am contemplating if I should sort out the color tone of the fabric or leave it as scrappy as it can get!! Mind you, I've got lots of contrasting colors! So for the next few days, my task if to cut out as many triangles and square as I can out of the scraps...in betweeen cutting and sorting..it's practising quilting on my Juki!!! I need to know if there are any fast and hard rules in feather quilting....any comments or help would be greatly appreciated!!! :-)

 Decided to make another bag for my cousin because I don't know if she likes small totes. Didn't want to chance it. This tote is slightly smaller than my bag.
 I bought this book from amazon.com and really love it! Check out the kanzashi I made!! It is so easy...no sewing round the petal.... just folding a 3" square. The flowers will look pretty and sweet on any bags, quilts etc. Will make more when I have more time on my hands!!! LOL

 This bag is the same style as the previous one but slightly bigger. Made it with the Sarawakian fabric. Most of my friends preferred it made with the other fabric though!


 When we arrived at this little town called Picton, we had just enough time to locate our motel, dumped all our suitcases and rushed down to the wharf to do the mail run cruise. We took the one o'clock cruise and came back around six thirty in the evening so we didn't get to walk around the town. Guess where I found this shop??? LOL Right below the other end of our motel room!!! I could have sleepwalk there!!!!


